6 Steps For Mailing Gifts
With family and friends living near and far, sending gifts through the mail is an important part of life — but can sometimes come with challenges, particularly with holiday shipping deadlines. From finding the right box to packing your contents securely, make sure your gifts are delivered on time (and in one piece!) with this step-by-step guide.
1. Check Shipping Deadlines & Plan Ahead
If you’re sending gifts during the holidays, begin the process by double checking the 2023 Holiday Shipping Deadlines. It’s important to keep those dates in mind so your presents arrive on time—plus, it costs less to ship early rather than waiting until the last minute, and who doesn’t love that?!

2. Choosing a Shipping Box
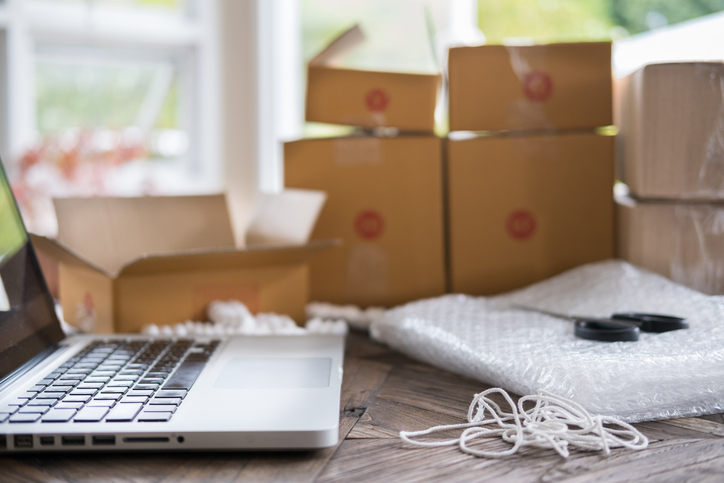
Use the information you determined about your items size, shape, and weight and pick a box that best suits your shipping needs. For help, use the following suggestions:
- Choose a box that is a few inches larger (on all sides) than everything you plan to put in it, making sure there’s enough room for packing and cushioning. However, be careful not to buy a box that is too big. Not only will it cost more to ship, but you’ll also have to purchase more packing materials to secure your items during transport.
- Pick a box that is strong enough to hold and protect what you’re sending by checking the weight limit on the bottom flap. Corrugated cardboard is a great choice because of its durability. Check out some of our custom packing options.
TIP: Have a lot of old boxes laying around from online purchases? If you decide to reuse one, first remove or cover up all old labels, especially bar codes. Also double check that the box doesn’t have any water damage or ripped areas that have weakened the cardboard.

3. Pack It Up Properly
The biggest key to ensuring your gift delivers in one piece is to use enough packing materials. Here are some tips to know how much is the right amount:
- Surround whatever you’re sending with at least one inch or more of packaging materials and cushioning on all sides. Two inches is ideal, and more if the item is fragile.
- Always wrap and protect each item separately.
- If you’re shipping a hollow item like a vase, fill it with packing material before wrapping the item in bubble wrap.
- For extremely fragile gifts, consider using two boxes—and double the padding. Pack the breakable item securely in a smaller box with packing material, then place it in your shipping box and surround with another layer of cushioning.
- Protect yourself against a lost package due to a damaged shipping label by including a backup label. Write out the delivery and return address and place it inside the box before you seal it up.
TIP: PostNet offers a wide selection of great packaging supplies, including bubble wrap, packing peanuts and more. Our shipping experts are happy to help you figure out just what you need to do to keep your gifts safe during shipment.

4. Secure and Seal Your Box
Now that your box is all packed up and ready to go, take the time to seal it correctly. It’s important to make sure your box is secure—especially to keep winter weather from damaging all the wonderful gifts you’re sending to family and friends. To do so, here are some tips from our PostNet shipping pros:
- For starters, always use the right type of tape. Clear packing tape is your best bet because it will strongly hold your box together, no matter the elements—unlike masking tape or duct tape.
- To secure all of your box edges, turn to the “H” method. Tape along each seam to form an H on both the top and the bottom of the box.
- Reinforce all seams including the ones running down from the corners. This is especially important if you’re using a recycled box whose structural integrity can wear down after multiple uses.
TIP: Save your pretty wrapping paper and bows for the gifts inside the shipping box. Ribbons, bows, and wrapping paper can get caught in the sorting machines and may cause damage to your package.

5. Label Your Box Correctly
A very important step in getting your gift package to its final destination is the label. To make sure your presents are delivered properly, take the following into consideration:
- The easiest way to accomplish this step is to buy and print your shipping label at a local shipping center like PostNet. A shipping center will verify the address and print out a label that’s legible and follows carrier protocol.
- If you choose to write your label yourself, always use a good pen (like a permanent marker) and legible handwriting.
- Include both the “to” and “from” information on your label placed only on one side.
- A complete address includes:
The recipient’s name
Street number or PO Box number
Street name, street suffix (Ave., St., etc.) and directional coordinate (N, S, E, W)
Secondary address if applicable (apartment or suite number)
City, state and 5-digit ZIP Code
- Don’t forget the return address. In the off-chance your package cannot be delivered, the carrier will need this information to get it back to you in a timely manner.
- Forgot the ZIP Code? Don’t guess! We can look it up for you.

6. Time to Ship
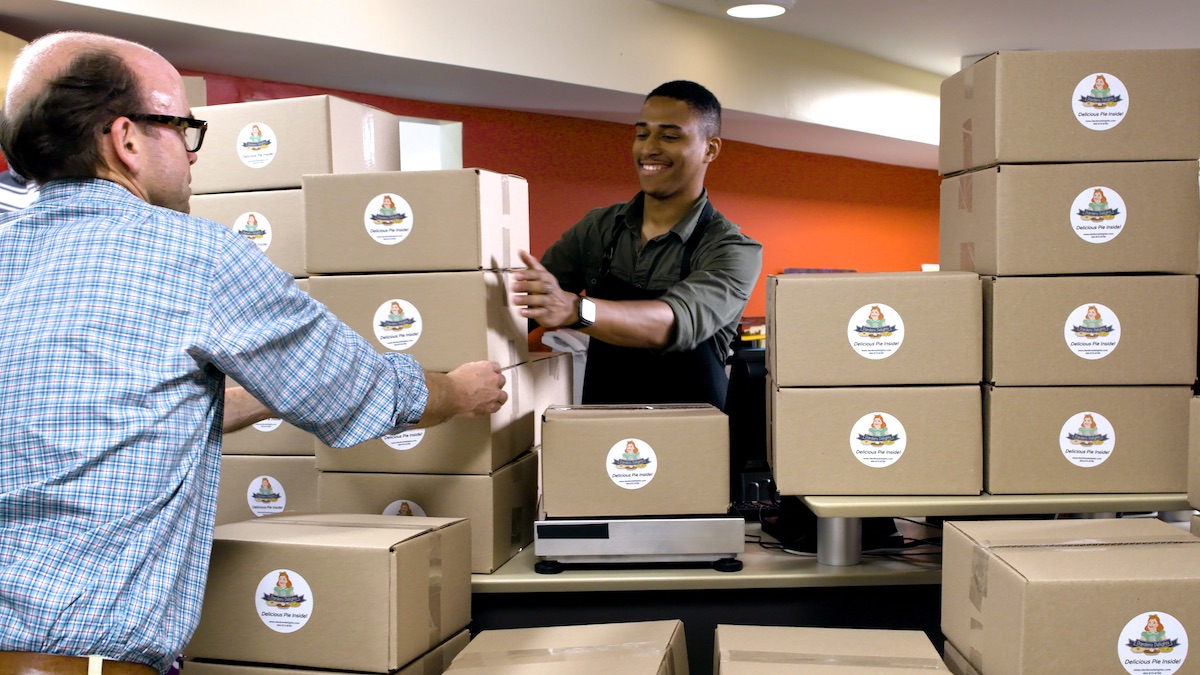
Once your package is all wrapped up and ready to go, skip the lines at the Post Office and bring it down to your nearest PostNet. You’ll get your holiday gifts under the tree with time to spare. When you come to PostNet you can:
- Get help choosing the best carrier for your package. We can give you pricing and delivery information from all of the major carriers at once (both domestic and international!).
- Have our shipping professionals custom pack your box so everything you ship is secure and protected.
- Set up insurance for your package in case something happens to it on the way to its destination.
- Say goodbye to the runaround of calling the carriers if things go awry. Rest easy knowing that if in fact, anything does happen, we have you covered. Items go missing? We’ll find them. Received a shipment with damaged goods? We’ll fix it.

More Shipping Tips and Tricks:
How to Send Grandma’s Cookies (and other food items)
A huge part of the holidays for many families is all the delicious food. But sharing special treats through the mail can seem daunting. Here’s how to do it correctly:
- Place the food items inside a well-sealed, airtight container before putting it into your shipping box.
- Ship food on Monday, Tuesday, or Wednesday. (Or next-day delivery if possible!) Sending on these days will help keep the food from sitting out over the weekend.
- If the food needs to be kept cold, make sure to include frozen gel packs in your packaging.
- Track your package to ensure it’s delivered, and brought inside, in a timely manner.

Make packing and mailing gifts easier by turning to the shipping experts at PostNet. Find a PostNet near you to get started.
This post was originally published Dec 5, 2018 and was last updated Dec 1, 2023.


